
I love making baby quilts. .
I've made quilts for each of my children, my grandchildren, my nieces and some friends.
Let me share the process I went through with this quilt:
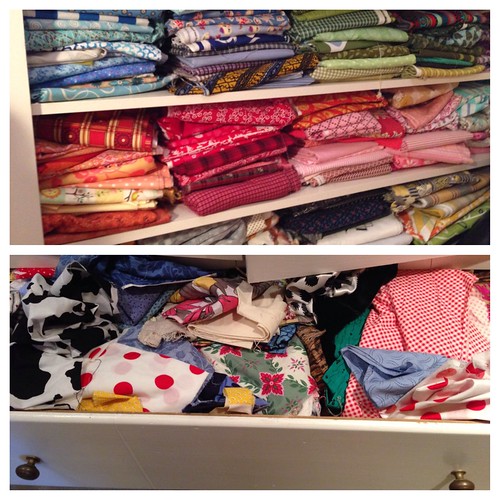
I started by going through my stash and pulling out what grabbed me. It took awhile...I pulled, put back, pulled, put back. I even used fabric from my "scrap drawer". You never know when those smaller scraps can come in handy.
Next to decide which design to make? Do I make strips? Nine patch? Log cabin?
So many choices.
Keep It Simple kept running through my head .
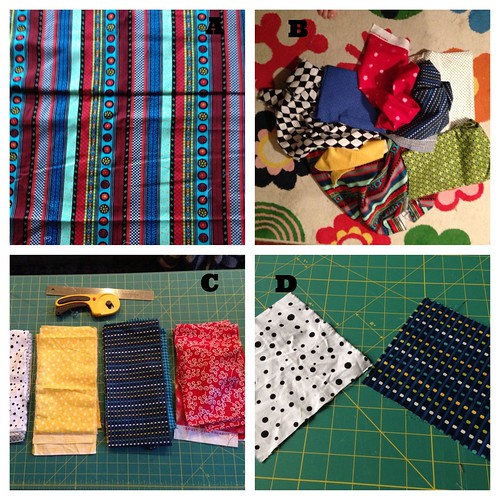
For this quilt I decided to use (A) as my inspiration fabric. I wanted to cut strips of this fabric to use as a border.
Next, (B) I threw the fabrics together on the floor while choosing what I will use for the field squares. Needed to visualize what it would look like
Since I decided to make triangles in the main field, I cut strips of fabric 5 3/4 in wide (C) and then
cut those strips into 5 3/4 in squares (D).
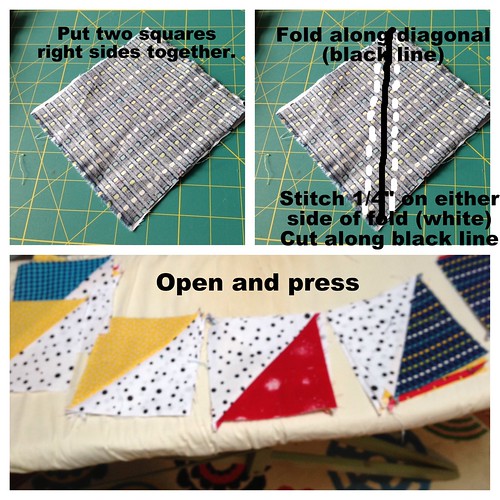
Now, let me show you how I made those triangles.
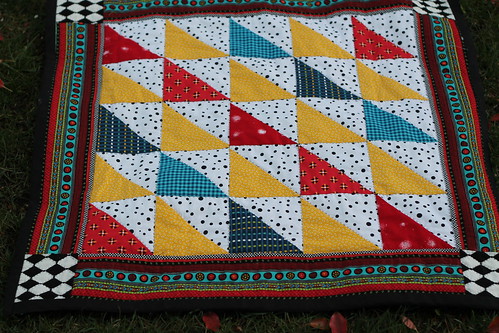
After piecing the triangle squares together, sewing the border, grabbing some natural cotton batting. and choosing the backing, I came up with this:
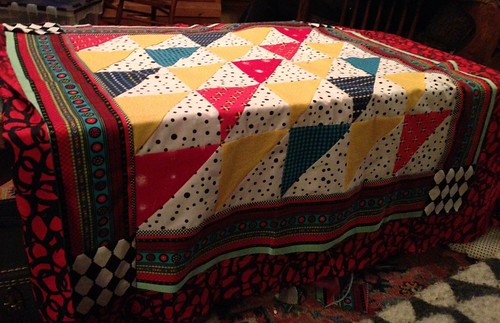
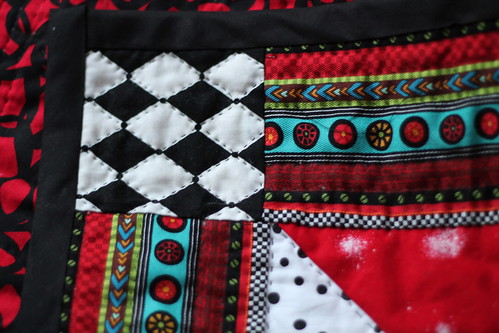
And then I hand quilted away....
I can't wait to wrap up my new little grandbabe in this sweet quilt.
No comments:
Post a Comment